
Over time, your car’s hood can start to show small paint chips caused by road debris, gravel, or even harsh weather. While a few minor chips might seem like a purely cosmetic issue, if left untreated, they can lead to rust and more serious damage. The good news is that you don’t need to spend a fortune at a body shop to fix them. You can fix paint chips on your own and restore the finish of your car with a little effort and the appropriate equipment.
Here’s a step-by-step guide to fixing paint chips on the hood of your car:
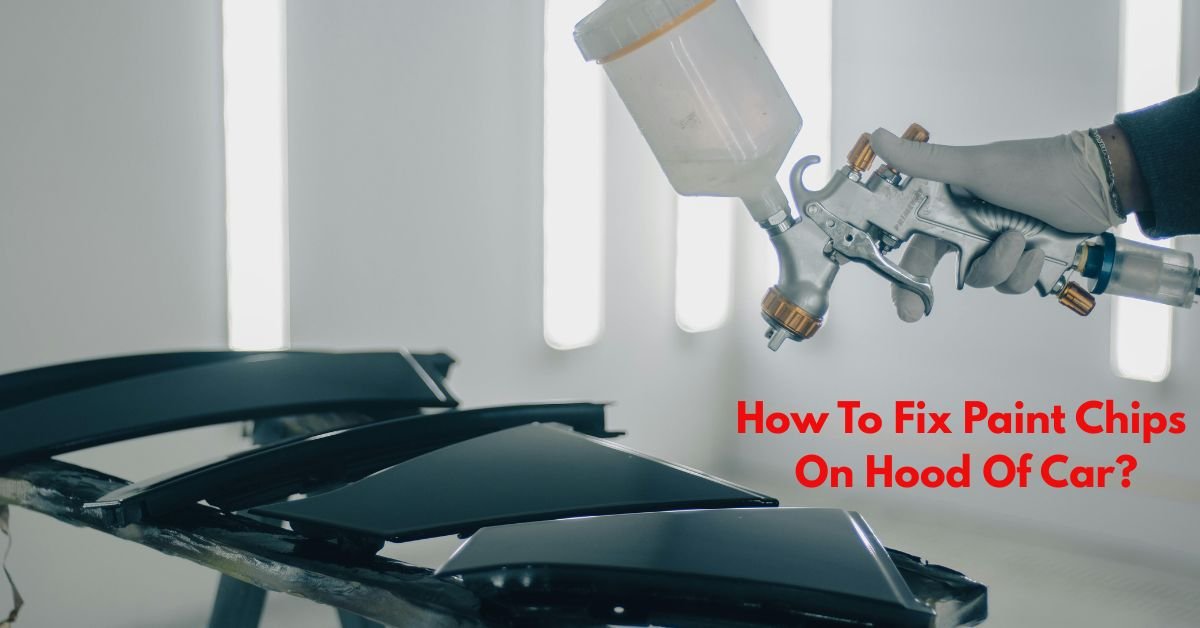
How to Fix Paint Chips on the Hood of Your Car: A DIY Guide
Step 1: Assess the Damage
Before you start, take a close look at the affected area. Are the chips small and shallow, or are they deep enough to show metal? Minor chips can be fixed easily with touch-up paint, while larger or rusted areas may require more advanced repair techniques. If you’re dealing with rust, it’s important to remove it completely before repainting.
Step 2: Clean the Area
Start by washing the area with car-safe soap and water. Remove all dirt, grease, and wax to make sure the paint adheres properly. Use a microfiber towel to completely dry the area after washing.
For best results, use a wax and grease remover (available at auto parts stores) to wipe down the chipped areas. This step ensures that there are no leftover residues that could interfere with the paint.
Step 3: Sand the Chips (If Necessary)
If the paint chips have rough edges or exposed metal, use fine-grit sandpaper (around 1500-2000 grit) to smooth them out. Be gentle—you just want to feather the edges of the chip so the new paint blends in better. Use a fresh cloth to remove any dust.
Step 4: Apply Primer (If Metal Is Exposed)
Use a toothpick or fine brush to apply a tiny bit of automotive primer if the chip has penetrated the paint and clear coat to reveal the metal underneath. Allow it to completely dry, which may take several hours, depending on the product.
Must Read: What Ford Vehicles Used A E4OD Transmission In 2001?
Step 5: Apply Touch-Up Paint
Make sure you get the exact color match for your car. You can usually find the paint code on a sticker in the driver’s side door jamb, or contact your car manufacturer or local dealership. Give the touch-up paint bottle a good shake once the color is correct.
Using a fine brush, toothpick, or a touch-up pen, carefully apply the paint to the chip. Don’t try to fill it all in one go—apply thin layers and let each layer dry before adding the next. This helps avoid drips and uneven texture. The goal is to slightly overfill the chip so that when it dries, it sits just above the surface.
Step 6: Let It Cure
Allow the touch-up paint to cure for at least 24 hours. This ensures that the paint is completely dry and ready for polishing.
Step 7: Wet Sand and Polish (Optional for a Smoother Finish)
If you’re aiming for a professional-looking result, you can lightly wet sand the repaired area with 2000-grit sandpaper wrapped around a small sanding block. Use plenty of water and go slow. After sanding, use a rubbing compound and a microfiber cloth or polishing tool to blend the new paint with the old.
Step 8: Apply Clear Coat
Over the touch-up paint, apply a thin layer of clear coat to seal your repair and give it a glossy finish. Let it dry thoroughly, then buff it gently with polishing compound.
Final Thoughts
Fixing paint chips on the hood of your car is a manageable DIY project that can save you money and keep your car looking sharp. It takes patience and a steady hand, but the satisfaction of seeing a smooth, shiny hood without blemishes is well worth the effort. Regularly inspecting and touching up chips as they appear can also help preserve your car’s value and prevent rust from forming.
Whether you’re prepping for resale or just want your ride to look its best, fixing those paint chips is a smart move.