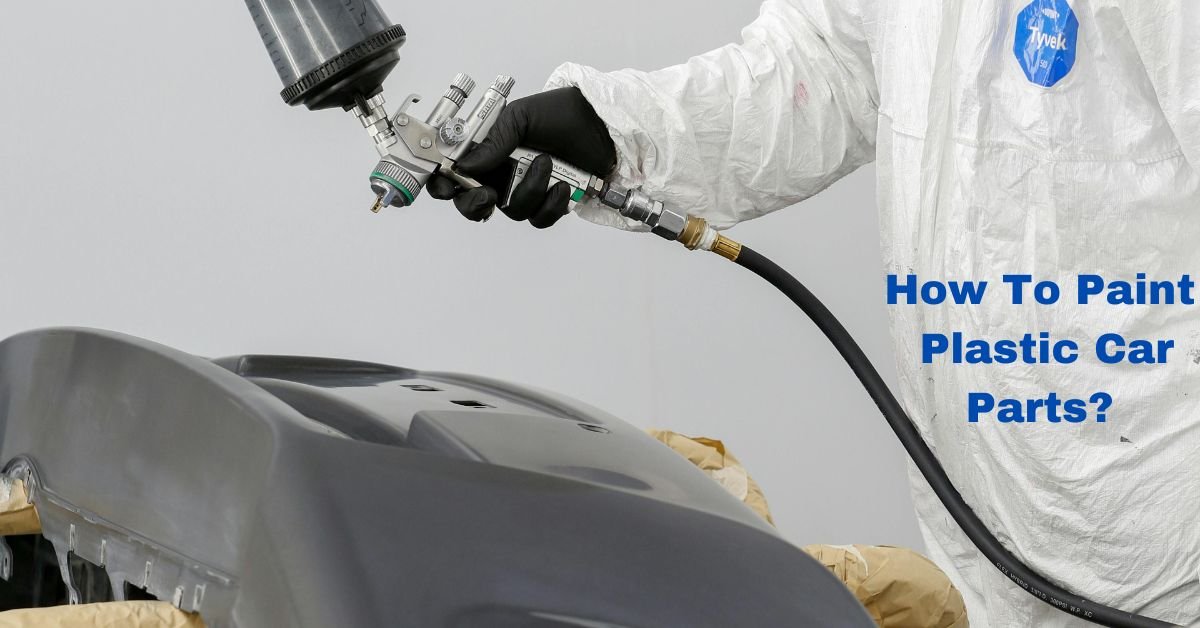
When it comes to maintaining or customizing your car, painting plastic parts is a popular choice. Whether you’re restoring a faded bumper or upgrading your side mirrors with a fresh color, painting plastic parts can make a huge difference in your car’s overall appearance. However, painting plastic surfaces requires a bit more preparation and care than painting metal or other materials.
In this guide, we will walk you through the essential steps on how to paint plastic car parts, ensuring a smooth, durable, and professional finish. Let’s get started!
How to Paint Plastic Car Parts: A Step-by-Step Guide
1. Preparation: Gather Your Supplies
Before you start painting, make sure you have all the necessary tools and materials. Here’s a quick list of what you’ll need:
- Soap and water for cleaning
- Masking tape and plastic sheeting (for protecting areas you don’t want to paint)
- Sandpaper (preferably 220 to 400-grit)
- Plastic primer
- Plastic-friendly spray paint (automotive or specific to plastic)
- Clear coat (for added durability and shine)
- Gloves, respirator mask, and safety glasses
- A well-ventilated space (preferably an outdoor area or garage)
2. Clean the Plastic Surface
The first step in any painting project is cleaning the surface. Plastic car parts, like bumpers, trim, and mirrors, often collect dirt, grease, and road grime, which can prevent the paint from adhering properly. Here’s how to clean them:
- Wash the plastic parts thoroughly with soap and water.
- Use a degreaser to remove any oils or residues that might be present. You can find automotive degreasers at most car parts stores.
- Dry the surface with a clean, lint-free cloth.
3. Sand the Surface
Sanding the plastic is crucial for ensuring that the paint adheres well. The sanding process roughens up the surface, allowing the paint to bond more effectively. Use medium-grit sandpaper (220 to 400-grit) to gently scuff the surface.
- Sand in circular motions, focusing on any glossy areas or spots where the plastic is smooth.
- Sanding too vigorously could harm the plastic, so exercise caution.
- After sanding, wipe the surface with a clean cloth to remove dust and debris.
4. Masking: Protect the Surrounding Areas
Before applying primer or paint, make sure to mask off areas that you don’t want to get paint on. Use painter’s masking tape to cover parts like the car body, headlights, and any trim you want to keep clean.
- Use plastic sheeting or drop cloths to protect surrounding areas from overspray.
- Ensure that the masking is secure and covers all exposed areas completely.
Must Read: How To Get Spiders Out Of Your Car?

5. Apply Plastic Primer
Now it’s time to apply a plastic primer. This step is critical because primer helps the paint stick better to plastic surfaces, which are notoriously difficult to paint without it. Look for a primer specifically formulated for plastic.
- Shake the can of plastic primer for about 1-2 minutes to ensure an even consistency.
- Hold the spray can about 8-10 inches away from the surface and spray in light, even coats. Apply 2-3 thin coats, allowing each layer to dry before applying the next.
- Let the primer dry for the recommended amount of time (typically 15-30 minutes).
6. Painting the Plastic Parts
Once the primer is dry, it’s time to apply the color coat. Choose a high-quality automotive spray paint designed for plastic surfaces. Automotive spray paints provide durability and a finish that matches your car’s original parts.
- Shake the spray paint can thoroughly.
- Spray the paint in light, even coats, holding the can 8-10 inches from the surface. Start by spraying the edges and then work your way in.
- Apply 2-3 coats, allowing each coat to dry completely before applying the next. Steer clear of excessive spraying as this may result in drips and runs.
- Ensure even coverage and check for any spots that may need additional coats.
7. Apply Clear Coat
To protect your paint job and add a glossy finish, apply a clear coat. The clear coat not only adds shine but also acts as a protective layer to help the paint last longer, especially when exposed to the elements.
- Once the color coats are dry, shake the can of clear coat thoroughly.
- Apply 2-3 light coats of clear coat, allowing each coat to dry before applying the next.
- Let the clear coat cure for at least 24 hours before exposing the plastic parts to regular use.
8. Finishing Touches and Curing
After the final clear coat has dried, remove the masking tape and any protective coverings. Inspect the plastic parts for any imperfections, such as overspray or areas where the paint didn’t cover well.
- If needed, lightly sand the painted surface with fine-grit sandpaper (around 1000-grit) to remove any bumps or imperfections.
- Apply a final layer of clear coat if you’ve done any sanding.
Allow the newly painted plastic parts to fully cure for at least 48 hours before putting them back on your car. This ensures that the paint has hardened and will be more resistant to scratches and chips.
Final Thoughts
Painting plastic car parts may seem daunting, but with the right tools, preparation, and patience, you can achieve a professional-looking finish that enhances the appearance of your vehicle. By following these steps carefully, you can successfully restore or customize your car’s plastic parts, making them look as good as new.
Remember that taking your time at each step and using quality products will yield the best results. Happy painting, and enjoy your freshly updated ride!
