
Leather car seats are a luxury and a statement, but over time, they can wear out, crack, or fade. Whether you’re trying to restore the interior of a classic car or simply breathe new life into your daily driver, renovating leather seats can make a dramatic difference in both aesthetics and value. The good news? With a bit of time, care, and the right tools, you can renovate your leather car seats at home without breaking the bank.
To assist you in the process, below is a detailed guide.
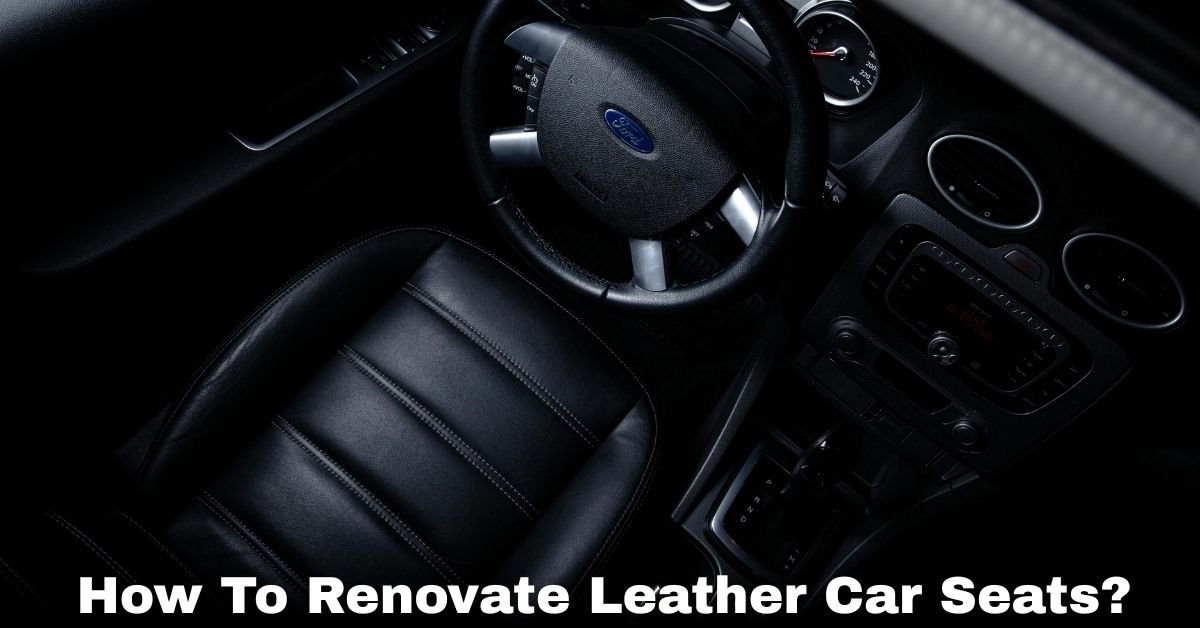
How to Renovate Leather Car Seats: A Step-by-Step Guide
Step 1: Assess the Condition of the Seats
Before diving into any restoration, inspect the leather thoroughly. Look for:
- Cracks or deep creases
- Fading or discoloration
- Surface dirt or stains
- Tears or holes
Knowing the severity of the damage will help you determine what products and techniques you’ll need.
Step 2: Gather Your Tools and Products
To renovate your leather car seats, you’ll need:
- A leather cleaner
- Soft microfiber cloths or sponges
- A soft-bristled brush
- Leather conditioner
- Leather repair kit (for cracks, holes, or heavy damage)
- Leather dye or color restorer (if the leather has faded)
- Gloves (optional but helpful)
You can find most of these at auto stores or online, and some come in all-in-one leather restoration kits.
Step 3: Clean the Leather Thoroughly
Start with a deep clean. Dirt and grime can get embedded in the leather’s pores, and you don’t want to seal it in.
- Vacuum the seats to remove loose debris.
- Apply the leather cleaner to a microfiber cloth or soft sponge.
- Gently scrub the surface in circular motions.
- Use a brush for textured or stitched areas where grime collects.
- To get rid of residue, wipe down with a fresh towel.
Let the seats dry completely before moving on.
Must Read: How To Remove Glue From Car Without Damaging Paint?
Step 4: Repair Any Damage
If you have cracks, scratches, or holes, this step is key.
- Use the leather repair kit’s repair compound.
- Using a palette knife or applicator, dab a tiny bit onto holes or fissures.
- Smooth it out and let it cure as per the product instructions.
- Sand lightly with fine-grit sandpaper if needed to blend the repair.
Pro tip: Some repair kits come with texture pads to match your seat’s original grain pattern.
Step 5: Restore the Color
Over time, leather can fade due to sun exposure, wear, and cleaning. Restoring the color brings vibrancy back to your seats.
- Choose a leather dye that matches your car’s interior. Some brands offer color-matching services.
- Use a sponge or cloth to apply the color in light, even coatings.
- Before applying the next layer, let the previous one completely dry.
- Buff gently once dry to bring back a soft sheen.
Note: Always test the dye on a small, hidden area first to ensure a good match.
Step 6: Condition the Leather
Conditioning is like moisturizing your skin—it keeps the leather soft, flexible, and resistant to cracks.
- Using a fresh cloth, apply a high-quality leather conditioner.
- Work it into the leather with gentle circular motions.
- Let it absorb for at least 15-30 minutes.
- To get rid of any extra, buff with a dry towel.
Repeat conditioning every few months to maintain that fresh look.
Step 7: Protect and Maintain
After restoration, the key to longevity is regular maintenance:
- Keep your car out of direct sun when possible.
- Use sunshades or seat covers if necessary.
- Clean spills immediately to avoid staining.
- Wipe down the seats weekly to remove dust and oils.
Additionally, leather protectant sprays that offer a layer of spill resistance and UV protection are available.
Final Thoughts
Renovating leather car seats doesn’t have to be intimidating. With a little patience and the right tools, you can transform worn, tired seats into ones that look almost new. Maintaining the comfort and value of your car is more important than its appearance.
So, roll up your sleeves, put on your gloves, and give your leather seats the love they deserve. Your vehicle (as well as your passengers) will appreciate it.