
When working on your Audi’s battery—whether for replacement, inspection, or maintenance—you may come across a small but important component called the OEM battery vent tube. While it might seem minor, this tube plays a crucial role in maintaining safety by directing harmful gases away from the battery compartment.
If you’re planning to remove or replace your Audi battery, understanding how to properly disconnect the vent tube is essential. In this guide, we’ll walk you through everything you need to know in a simple and safe way.
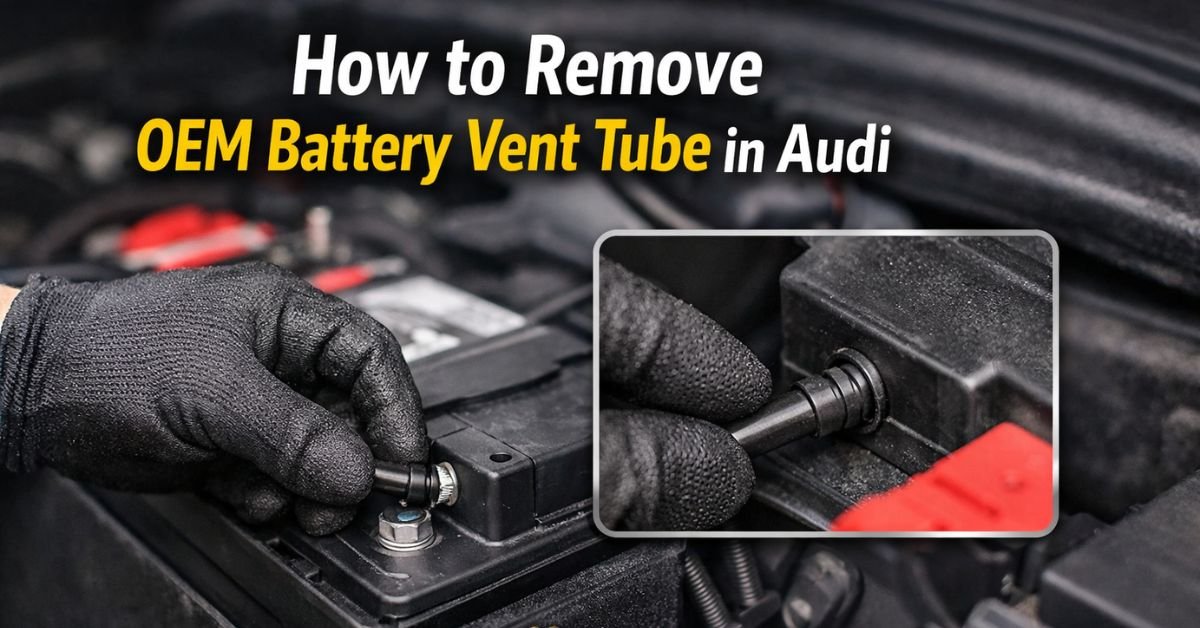
How to Remove OEM Battery Vent Tube in Audi
What Is a Battery Vent Tube?
Modern car batteries, especially those found in Audi vehicles, are often sealed but still release small amounts of gas during charging and discharging. The OEM battery vent tube is designed to channel these gases—primarily hydrogen—out of the vehicle.
In many Audi models, the battery is located in the trunk rather than under the hood. Because of this enclosed space, proper ventilation becomes even more important to prevent gas buildup, which could be dangerous.
Why You Might Need to Remove It
There are several situations where removing the battery vent tube becomes necessary:
- Replacing the battery
- Cleaning the battery compartment
- Diagnosing battery-related issues
- Upgrading to a new battery type
No matter the reason, handling the vent tube carefully is key to avoiding damage.
Tools You May Need
The good news is that removing the vent tube usually doesn’t require special tools. However, having the following on hand can make the process easier:
- Gloves (for safety)
- Flathead screwdriver (optional)
- Flashlight (for visibility in tight spaces)
Step-by-Step Guide to Removing the OEM Battery Vent Tube
1. Turn Off the Vehicle
Before doing anything, ensure the car is completely turned off. Remove the key and allow the system to fully power down. This lowers the possibility of electrical problems.
2. Locate the Battery
In most Audi models, the battery is located in the trunk under a panel or cover. To reach the battery compartment, lift the cover.
3. Identify the Vent Tube
Look for a small plastic tube connected to the side of the battery. It’s usually inserted into a vent port and routed out of the battery compartment.
4. Gently Disconnect the Tube
Carefully pull the vent tube straight out from the battery port. Avoid twisting or using excessive force, as this could damage the tube or the battery casing.
If the tube feels stuck, you can gently wiggle it side to side while pulling. In some cases, a flathead screwdriver can help loosen it slightly—but use it cautiously.
5. Inspect the Tube
Once removed, check the tube for any cracks, blockages, or wear. A damaged vent tube should be replaced to ensure proper ventilation when installing a new battery.
6. Secure the Tube (If Reusing)
If you plan to reuse the same tube, keep it in a clean and safe place while you complete your battery work.
Must Read: Do Batteries Go Out of Date?
Important Safety Tips
- Never skip the vent tube: If your battery requires ventilation, always reconnect the tube after installation.
- Avoid kinks or bends: A blocked tube won’t properly vent gases.
- Work in a ventilated area: Even though the vent tube helps, it’s still best to work where air can circulate.
- Wear protective gear: Batteries can contain corrosive materials, so gloves are recommended.
Reinstalling the Vent Tube
After installing your new or serviced battery, reconnecting the vent tube is just as simple:
- Insert the tube into the battery’s vent port
- Push it in firmly until secure
- Ensure the other end is properly routed outside the compartment
Make sure the connection is tight and the tube is not pinched by any panels or covers.
Final Thoughts
Removing the OEM battery vent tube in an Audi is a straightforward process, but it requires attention to detail and care. This small component plays a big role in maintaining safety and proper battery function, especially in vehicles where the battery is housed inside the cabin or trunk.
By following the steps outlined above, you can safely remove and reinstall the vent tube without causing damage or risking your vehicle’s performance. Whether you’re a DIY enthusiast or just trying to save on maintenance costs, understanding these small details can make a big difference.