
If your 2013 BMW 328i is experiencing rough idling, poor acceleration, difficulty starting, or the Check Engine Light has appeared on your dashboard, a faulty camshaft position sensor could be the culprit. The camshaft position sensor plays a crucial role in monitoring the position and speed of the camshaft, allowing the engine control module (ECM) to optimize fuel injection and ignition timing. When this sensor fails, engine performance can suffer significantly.
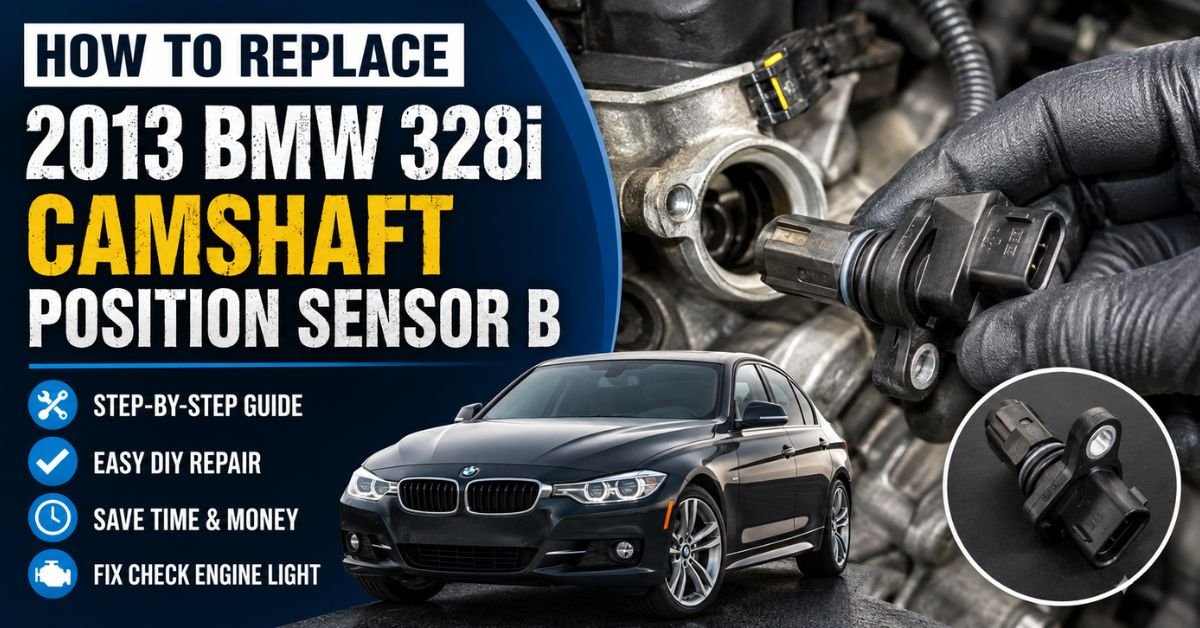
How to Replace a 2013 BMW 328i Camshaft Position Sensor
Fortunately, replacing the camshaft position sensor on a 2013 BMW 328i (F30 with the N20 engine) is a straightforward repair that many DIY enthusiasts can complete with basic tools. This guide explains everything you need to know, from identifying the symptoms to installing the new sensor correctly.
What Does the Camshaft Position Sensor Do?
The camshaft position sensor continuously tracks the rotation and position of the camshaft. It sends this information to the vehicle’s ECU, which uses the data to control:
- Fuel injection timing
- Ignition timing
- Variable valve timing (VANOS)
- Engine synchronization
When the sensor begins to fail, the ECU receives inaccurate information, causing poor engine performance and triggering diagnostic trouble codes.
Symptoms of a Bad Camshaft Position Sensor
Before replacing the sensor, verify that it is actually the problem. Common symptoms include:
- Check Engine Light illuminated
- Rough idle
- Engine misfires
- Hard starting or no-start condition
- Reduced engine power
- Poor fuel economy
- Engine stalling
- Hesitation during acceleration
Typical OBD-II codes include:
- P0340
- P0341
- P0365
- P0366
If these symptoms appear along with one of these fault codes, replacing the sensor is often the correct solution.
Tools and Parts Required
Before beginning, gather the following:
Tools
- 10mm socket
- E8 external Torx socket (if applicable)
- Ratchet
- Socket extension
- Flat-head screwdriver
- Trim removal tool
- Clean shop rag
- Flashlight
Replacement Parts
- New camshaft position sensor
- New O-ring (usually included with the sensor)
- A tiny quantity of pure engine oil (for O-ring lubrication)
Safety Precautions
Before working on your BMW:
- Park on a flat surface.
- Allow the engine to cool completely.
- Disconnect the negative battery terminal.
- Wear safety gloves and eye protection.
Step 1: Remove the Engine Cover
Open the hood and locate the decorative plastic engine cover.
It is secured by rubber mounting grommets rather than bolts.
Simply grasp both sides of the cover and pull upward firmly until it releases.
Set the cover aside.
Step 2: Locate the Camshaft Position Sensor
On the 2013 BMW 328i N20 engine, the camshaft position sensors are mounted near the front of the cylinder head.
There are actually two sensors:
- Intake camshaft position sensor
- Exhaust camshaft position sensor
If you’re replacing only one, verify which sensor corresponds to the fault code using a scan tool.
Step 3: Disconnect the Electrical Connector
Locate the wiring connector attached to the sensor.
Press the locking tab and carefully pull the connector away.
Do not pull on the wiring itself.
Inspect the connector for:
- Corrosion
- Broken locking tabs
- Oil contamination
Clean the connector if necessary.
Step 4: Remove the Sensor
Using the appropriate socket (usually an E8 Torx or 10mm depending on production date), remove the retaining bolt.
Once the bolt is removed:
- Twist the sensor gently.
- Pull it straight out.
Some resistance is normal because of the rubber O-ring.
If the sensor feels stuck, avoid excessive force.
Rather, pull outward while gently rotating it back and forth.
Step 5: Compare the New Sensor
Before installation:
- Compare the new sensor with the old one.
- Verify connector shape.
- Check mounting point.
- Ensure the O-ring is installed.
Apply a light application of clean engine oil to the new O-ring.
This helps prevent damage during installation.
Must Read: How to Measure Camshaft Angle in BM3?
Step 6: Install the New Sensor
Insert the new sensor carefully into the cylinder head.
Push it in until fully seated.
Put the retaining bolt back in and tighten it firmly.
Do not overtighten, as the mounting point is aluminum and can be damaged.
Step 7: Reconnect the Electrical Connector
Push the connector onto the sensor until the locking tab clicks into place.
Give it a gentle tug to ensure it is fully secured.
Step 8: Reinstall the Engine Cover
Align the engine cover with its rubber mounting points.
Press down firmly until each corner snaps into place.
If the battery terminal was unplugged, reconnect it.
Step 9: Clear Fault Codes
Using an OBD-II scanner:
- Erase stored fault codes.
- Start the engine.
- Verify the Check Engine Light remains off.
Allow the engine to idle for several minutes.
Take a little test drive of the car.
How Long Does the Repair Take?
For most DIY mechanics, replacing the camshaft position sensor takes:
- 30–60 minutes for first-time installers
- 15–30 minutes for experienced mechanics
No special programming is usually required after replacing the sensor.
Common Mistakes to Avoid
To ensure a successful repair:
- Installing the wrong sensor (intake vs. exhaust)
- Forgetting to lubricate the new O-ring
- Damaging the electrical connector
- Leaving dirt around the sensor opening
- Overtightening the retaining bolt
- Ignoring stored fault codes after installation
When the Problem Isn’t the Sensor
If changing the sensor doesn’t fix the problem, think about doing the following:
- Damaged wiring harness
- Timing chain wear
- VANOS solenoids
- Crankshaft position sensor
- ECU faults
- Poor oil quality or low engine oil levels
A professional diagnostic scan can help identify these issues.
Final Thoughts
Replacing the 2013 BMW 328i camshaft position sensor is a manageable DIY repair that can restore proper engine performance and eliminate common issues like rough idling, poor acceleration, and persistent Check Engine Light warnings. With only a few basic tools and about an hour of work, you can complete the replacement and potentially save hundreds of dollars in labor costs.
Always use a high-quality replacement sensor, inspect the electrical connector for damage, and clear any diagnostic trouble codes after installation. If symptoms continue after replacing the sensor, further diagnosis of the timing system, wiring, or VANOS components may be necessary. By following this guide carefully, you can keep your BMW running smoothly and reliably for many more miles.