
The crankshaft position sensor (CKP sensor) is one of the most important components in a modern vehicle’s engine management system. It monitors the position and rotational speed of the crankshaft, sending this information to the engine control module (ECM). The ECM uses this data to control ignition timing and fuel injection. If the sensor fails, your vehicle may experience hard starting, engine stalling, poor performance, or may not start at all.
How to Check a Crankshaft Position Sensor: A Complete Step-by-Step Guide
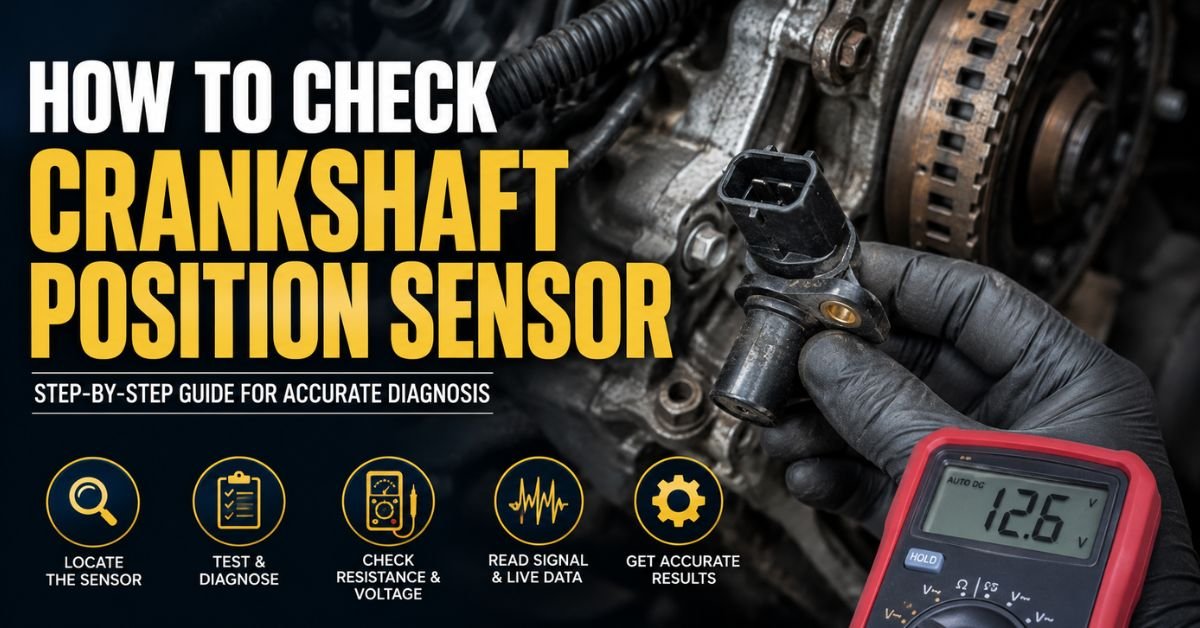
If you suspect your crankshaft position sensor is faulty, you don’t necessarily need to replace it immediately. Performing a few simple tests can help determine whether the sensor is working correctly. In this guide, you’ll learn how to check a crankshaft position sensor using basic tools and diagnostic methods.
What Does a Crankshaft Position Sensor Do?
The crankshaft position sensor detects the exact position and speed of the crankshaft. With this data, the engine computer can:
- Control ignition timing
- Manage fuel injector timing
- Monitor engine RPM
- Ensure smooth engine operation
The engine may misfire, stall, or fail to start in the absence of precise crankshaft position data.
Common Symptoms of a Bad Crankshaft Position Sensor
Before testing the sensor, look for these warning signs:
- Check Engine Light is illuminated
- Engine cranks but won’t start
- Random engine stalling
- Rough idle
- Misfires
- Poor fuel economy
- Hesitation during acceleration
- Intermittent starting problems
If several of these symptoms occur together, the crankshaft position sensor may be the cause.
Tools You’ll Need
Gather these tools before beginning:
- OBD-II scanner
- Digital multimeter
- Socket and wrench set
- Vehicle repair manual
- Flashlight
- Safety gloves
- Jack and jack stands (if sensor access requires lifting the vehicle)
Step 1: Locate the Crankshaft Position Sensor
The location varies depending on the make and model of your vehicle. Common locations include:
- Near the crankshaft pulley
- On the engine block
- Behind the harmonic balancer
- Near the transmission bell housing
- Close to the flywheel
Consult your owner’s manual or repair manual for the exact location.
Step 2: Perform a Visual Inspection
Before using electrical testing equipment, inspect the sensor and its wiring.
Look for:
- Broken or frayed wires
- Oil contamination
- Dirt buildup
- Loose electrical connectors
- Corrosion on terminals
- Physical damage to the sensor body
Sometimes the issue is simply a damaged connector rather than a failed sensor.
Step 3: Scan for Diagnostic Trouble Codes
Connect an OBD-II scanner to your vehicle’s diagnostic port.
Common crankshaft sensor-related codes include:
- P0335 – Crankshaft Position Sensor Circuit Malfunction
- P0336 – Range/Performance Problem
- P0337 – Low Input
- P0338 – High Input
- P0339 – Intermittent Circuit
These codes don’t always confirm the sensor has failed, but they provide valuable clues.
Step 4: Test Sensor Resistance
Many magnetic crankshaft position sensors can be tested using a digital multimeter.
How to test:
- Turn off the engine.
- Disconnect the sensor connector.
- Set the multimeter to the Ohms (Ω) setting.
- Touch the probes to the sensor terminals.
- Compare the reading with your manufacturer’s specifications.
Typical resistance values range from 200 to 2,000 ohms, depending on the vehicle.
If the reading shows:
- Infinite resistance (OL)
- Zero resistance
- A value far outside specifications
the sensor is likely defective.
Note: Hall-effect sensors cannot usually be tested using resistance alone.
Step 5: Check Voltage Supply
For three-wire Hall-effect sensors:
- Turn the ignition key to the ON position.
- Leave the engine off.
- Set the multimeter to DC volts.
- Measure the power supply wire.
Most sensors receive either:
- 5 volts
- 12 volts
If no voltage is present, the problem may lie in the wiring, fuse, or ECM rather than the sensor itself.
Step 6: Test the Sensor Signal
Back-probe the signal cable after reconnecting the sensor.
Have someone crank the engine while measuring voltage.
A healthy Hall-effect sensor should produce a switching voltage that changes rapidly as the engine turns.
If the signal remains constant or absent, the sensor may have failed.
Must Read: How to Clean Pistons Without Removing the Cylinder Head?
Step 7: Inspect the Reluctor Wheel
The crankshaft sensor reads teeth on a reluctor (tone) wheel.
Inspect it for:
- Missing teeth
- Bent teeth
- Excessive rust
- Dirt buildup
- Damage from debris
A damaged reluctor wheel can create the same symptoms as a faulty sensor.
Step 8: Use Live Data (Advanced Diagnosis)
Many professional scan tools display live engine data.
Monitor:
- Engine RPM while cranking
- Crankshaft position signal
- Synchronization data
If the RPM stays at 0 while cranking, the ECM is not receiving a crankshaft signal.
When Should You Replace the Sensor?
Replace the crankshaft position sensor if:
- Resistance is out of specification
- No signal is detected
- Diagnostic codes return after clearing
- Wiring is confirmed to be good
- The sensor has visible physical damage
Always use a quality replacement part designed for your specific vehicle.
Can a malfunctioning crankshaft position sensor be used to drive?
Driving with a failing crankshaft position sensor is risky.
The engine may:
- Stall unexpectedly
- Fail to restart
- Misfire
- Lose power during acceleration
Ignoring the issue can leave you stranded and may cause additional engine performance problems.
Tips for Accurate Testing
- Disconnect the battery before unplugging electrical connectors.
- Check wiring before replacing the sensor.
- Compare readings with factory specifications.
- Inspect the connector for corrosion.
- Clear trouble codes after repairs and perform a test drive.
Frequently Asked Questions
Can a crankshaft position sensor fail without triggering the Check Engine Light?
Yes. An intermittent sensor may cause starting or stalling issues before the ECM stores a diagnostic code.
What leads to the failure of a crankshaft position sensor?
Common causes include heat, vibration, age, oil contamination, damaged wiring, and internal electronic failure.
Can a bad battery affect the crankshaft position sensor?
A weak battery can create starting issues and low voltage conditions, but it usually does not damage the sensor itself.
Can a crankshaft position sensor be easily replaced?
The difficulty depends on the vehicle. Some sensors are easy to access, while others require removing surrounding components.
Conclusion
Learning how to check a crankshaft position sensor can save time, money, and unnecessary parts replacement. Start with a visual inspection, scan for trouble codes, and use a multimeter to test resistance or voltage depending on the sensor type. Don’t forget to inspect the wiring and reluctor wheel, as these components can produce similar symptoms.
If testing confirms the sensor is faulty, replacing it promptly will restore proper engine timing, improve reliability, and help prevent unexpected breakdowns. With the right tools and a systematic approach, even DIY mechanics can confidently diagnose crankshaft position sensor problems.