
A damaged, loose, cracked, or sagging sun visor can be more than just an annoyance. A properly working sun visor helps block sunlight and glare while driving, making it an important part of your vehicle’s interior and visibility system. Fortunately, replacing a sun visor is usually a straightforward repair that many vehicle owners can handle at home with a few basic tools.
How to Replace a Sun Visor: A Simple Step-by-Step Guide
The exact procedure can vary depending on the make and model of your vehicle, but most sun visors are attached to the headliner area with a small mounting bracket, screws, or clips. Some models may also have electrical wiring for features such as illuminated vanity mirrors. Before starting, it is important to identify how your particular visor is mounted.
What You Need to Replace a Sun Visor
Before removing the old sun visor, gather the necessary tools. In many vehicles, you will need a Phillips-head screwdriver, flat-head screwdriver, or Torx driver. Some vehicles use different fasteners, so checking the replacement part and your vehicle’s service information beforehand can save time.
You may also want a small trim-removal tool, especially if a plastic cover hides the mounting screws. A flashlight can be useful when working around the headliner.
If the replacement visor includes an illuminated mirror, make sure you know whether it has an electrical connector. You may need to disconnect the connector before completely removing the old visor.
Step 1: Purchase the Correct Replacement Sun Visor
The first step is to make sure you have the correct replacement part. Sun visors can differ by vehicle year, trim level, interior color, side, and features.
The driver’s-side and passenger-side visors may not be interchangeable. A visor with an illuminated vanity mirror may also have different wiring from a basic visor.
When purchasing a replacement, compare the part with your existing visor. Check the color, shape, mounting points, electrical connector, and included hardware.
Step 2: Position the Sun Visor
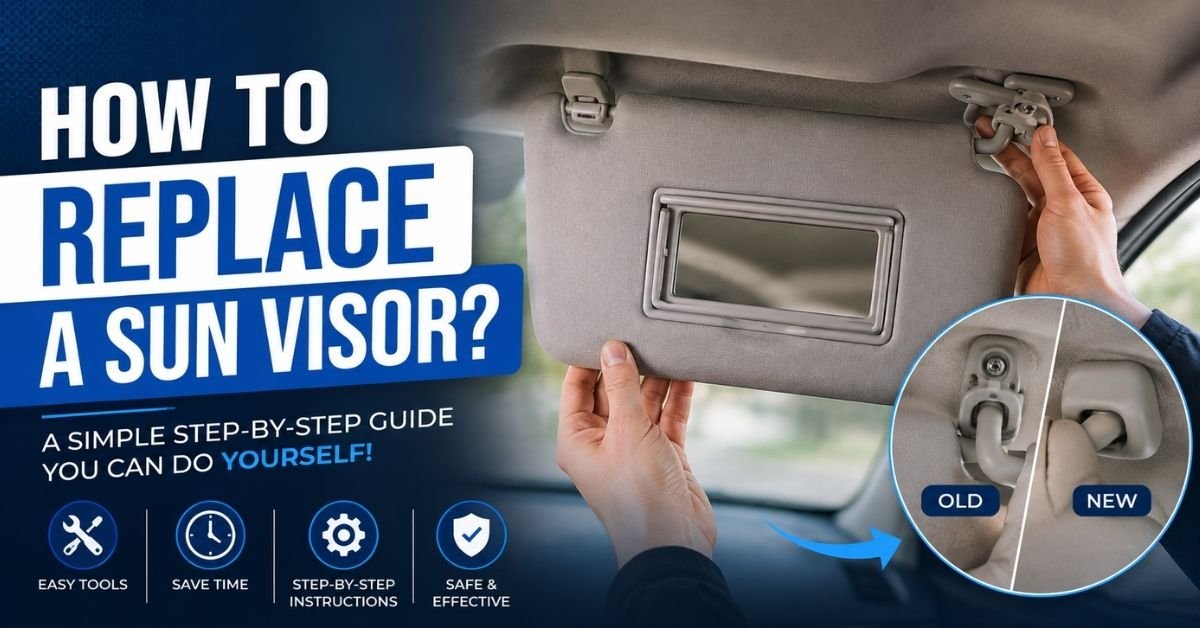
Move the existing sun visor into a position where you can easily access its mounting point. Most visors are attached near the upper corner of the windshield.
Look closely at the area where the visor connects to the roof or headliner. You may see a plastic cover hiding one or more screws.
If there is a cover, carefully remove it using a trim tool or suitable screwdriver. Avoid forcing the cover because older plastic components can become brittle and break.
Step 3: Remove the Mounting Screws
Once the mounting hardware is exposed, remove the screws holding the visor bracket in place. Keep the screws somewhere safe in case you need them for installing the replacement.
Support the visor with your other hand while removing the final screw. This prevents the visor from suddenly dropping and putting unnecessary stress on the headliner.
Some vehicles use clips or other mounting systems instead of conventional screws. If your visor does not come free after removing the visible fasteners, do not pull aggressively. Check for hidden clips or additional hardware.
Step 4: Disconnect Any Electrical Wiring
Some sun visors contain illuminated vanity mirrors or other electrical features. If yours has wiring, locate the electrical connector after loosening the visor.
Disconnect the connector carefully. Avoid pulling on the wires directly. Instead, release the connector using its locking tab.
If the vehicle has electrical components near the visor, switching the ignition off before beginning the repair is a sensible precaution. If you are unsure about the wiring arrangement, consult the vehicle’s repair information.
Step 5: Remove the Old Sun Visor
After removing the fasteners and disconnecting any wiring, carefully take the old sun visor out of the vehicle.
Compare the old visor with the replacement before installing the new one. This is a good opportunity to confirm that the mounting holes and connector match.
If the old visor was loose because of a damaged bracket rather than the visor itself, inspect the mounting area carefully. Installing a new visor without addressing a damaged mounting point may not solve the problem.
Step 6: Install the New Sun Visor
Position the replacement visor against the mounting location. If the visor has an electrical connector, reconnect it before securing the mounting hardware if the design requires it.
Align the mounting holes and start the screws by hand. This helps prevent cross-threading.
Once the screws are properly aligned, tighten them securely. Avoid overtightening because excessive force can damage plastic brackets, screw holes, or components around the headliner.
Step 7: Test the New Sun Visor
After installation, move the visor through its normal range of motion. It should stay in position without excessive looseness.
If your vehicle has a vanity mirror light, test the light as well. Make sure the visor can move between its normal positions without pulling on or stretching the electrical wiring.
Check the mounting bracket one final time to make sure everything is secure.
Must Read: How to Remove a Center Console?
Common Problems When Replacing a Sun Visor
One of the most common mistakes is assuming that every sun visor uses the same mounting system. Different vehicles can use screws, clips, brackets, or combinations of these components.
Another issue is buying a replacement that looks similar but does not have the correct mounting hardware or electrical connector. Always verify compatibility before purchasing.
You should also avoid pulling directly on the headliner. The headliner material can be damaged relatively easily, and repairing it can be more difficult than replacing the visor itself.
How Long Does It Take to Replace a Sun Visor?
For many vehicles, replacing a sun visor can take approximately 10 to 30 minutes. The job may take longer if the visor has electrical wiring, hidden mounting hardware, or a complicated bracket.
Because the procedure varies between vehicles, it is always a good idea to check the owner’s manual or vehicle-specific repair instructions before starting.
Final Thoughts
Replacing a sun visor is often a simple interior repair that does not require advanced mechanical skills. In most cases, the job involves removing a cover, taking out a few mounting screws, disconnecting any wiring, and installing the replacement in the reverse order.
The most important part is using the correct replacement visor and taking care when working around the headliner and electrical connectors. With the right tools and a little patience, you can usually replace a damaged or loose sun visor and restore your vehicle’s interior to proper working condition.