
If you’re experiencing slow engine cranking, dim headlights, or electrical issues in your 2018 Ford Flex Limited, it may be time to replace the battery. Fortunately, replacing the battery is a straightforward maintenance task that many vehicle owners can perform at home with basic tools. In this guide, we’ll walk you through how to replace the battery in a 2018 Ford Flex Limited safely and efficiently.
How Can a 2018 Ford Flex Limited Battery Be Replaced?
Why Battery Replacement Is Important
The battery in your Ford Flex Limited plays a critical role in starting the engine and powering various electrical systems. Over time, batteries naturally lose their ability to hold a charge. Most automotive batteries last between three and five years, depending on driving habits, climate conditions, and maintenance.
Common signs that your battery may need replacement include:
- Slow engine starting
- Dashboard battery warning light
- Dim headlights or interior lights
- Electrical accessories malfunctioning
- Frequent need for jump-starts
If your battery is showing these symptoms, replacing it can help prevent unexpected breakdowns.
Tools and Materials Needed
Before starting the replacement process, gather the following tools:
- New replacement battery
- 10mm wrench or socket
- Battery terminal cleaner (optional)
- Safety gloves
- Safety glasses
- Battery terminal protector spray (optional)
Always make sure the replacement battery matches the specifications recommended for the 2018 Ford Flex Limited.
Step 1: Park the Vehicle Safely
Park your Ford Flex on a flat surface and turn off the engine. Remove the key from the ignition and engage the parking brake. Open the hood and locate the battery compartment.
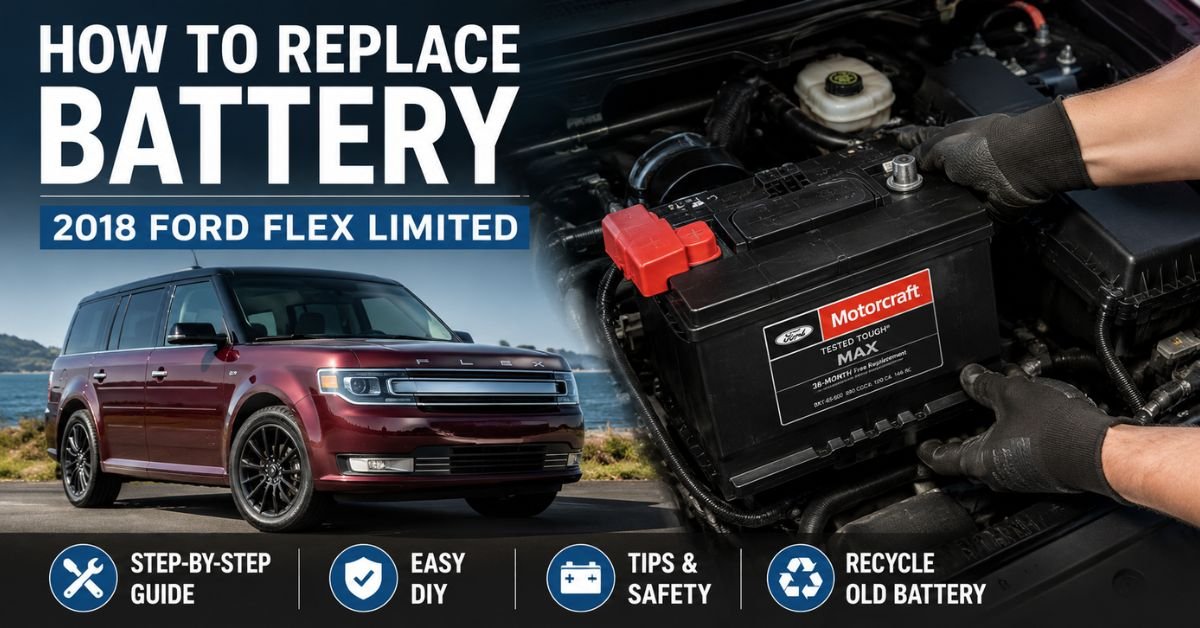
On the 2018 Ford Flex Limited, the battery is located under the hood near the front driver’s side area.
Step 2: Inspect the Battery
Before removing the battery, inspect the terminals for corrosion or damage. White, blue, or green deposits around the terminals may indicate corrosion, which can affect battery performance.
If necessary, clean the terminals using a battery terminal cleaner before proceeding.
Step 3: Disconnect the Negative Terminal
Using a 10mm wrench, loosen the nut on the negative (-) battery terminal.
Carefully remove the negative cable and position it away from the battery to prevent accidental contact.
Always disconnect the negative terminal first to reduce the risk of electrical shorts.
Step 4: Disconnect the Positive Terminal
Next, loosen the nut on the positive (+) battery terminal.
Remove the positive cable and keep it away from the battery. Be careful not to let metal tools touch both terminals simultaneously.
Step 5: Remove the Battery Hold-Down Bracket
The battery is secured with a hold-down bracket at its base.
Use the appropriate socket wrench to remove the retaining bolt and bracket. Set the hardware aside in a safe place, as you will need it when installing the new battery.
Step 6: Remove the Old Battery
Automotive batteries are heavy, often weighing 35 to 50 pounds.
Using both hands, raise the battery straight up. If your battery has a carrying handle, use it for added safety.
Place the old battery on a stable surface and prepare it for proper recycling. Most auto parts stores and service centers accept old batteries for recycling.
Step 7: Install the New Battery
Place the new battery into the battery tray, ensuring it sits securely and is oriented correctly with the positive and negative terminals matching the original battery layout.
Reinstall the battery hold-down bracket and tighten the retaining bolt securely.
A properly secured battery helps prevent vibration-related damage.
Step 8: Reconnect the Battery Terminals
Reconnect the battery terminals in the reverse order of removal:
- Connect the positive (+) terminal first.
- Tighten the terminal securely.
- Connect the negative (-) terminal second.
- Tighten the negative terminal securely.
Applying terminal protector spray can help reduce future corrosion.
Step 9: Test the Installation
Start the engine and verify that the vehicle starts normally.
Check that dashboard warning lights are off and that electrical systems such as headlights, radio, and climate controls are functioning properly.
If everything works correctly, the battery replacement is complete.
Additional Tips for Ford Flex Owners
After replacing the battery, some vehicle settings may need to be reset. This can include:
- Clock settings
- Radio presets
- Driver memory settings
- Power window initialization
Consult your owner’s manual for specific reset procedures if necessary.
Final Thoughts
Replacing the battery in a 2018 Ford Flex Limited is a manageable DIY project that can save time and money. By following the proper steps—disconnecting the negative terminal first, safely removing the old battery, and correctly installing the new one—you can restore reliable starting performance and keep your vehicle running smoothly.
Regular battery inspections and maintenance can also help extend battery life and reduce the risk of unexpected failures. If you’re unsure about any part of the process, don’t hesitate to consult a professional technician for assistance.